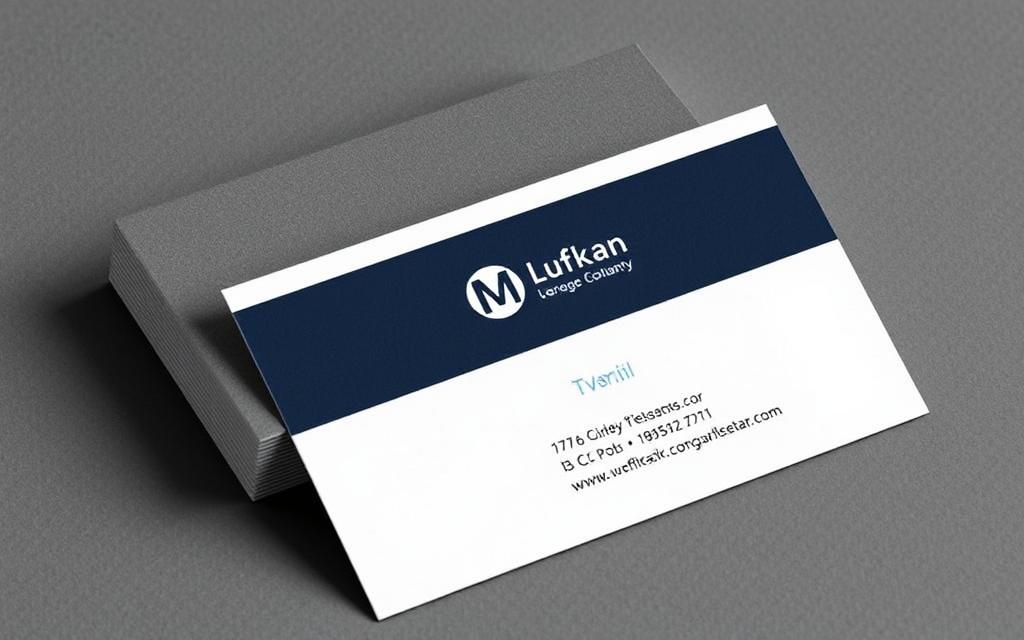
Business cards are a crucial networking tool for small businesses, helping to establish meaningful relationships and promote your brand. A well-designed business card should convey essential information about your business, be visually appealing, and communicate your brand identity effectively.
Using Adobe Illustrator, you can create professional business cards with ease. This comprehensive guide will walk you through the process of setting up your document with the correct dimensions and bleed parameters, ensuring your cards print perfectly to the edge without white borders or important elements being cut off.
By following this guide, you’ll be able to design business cards that are not only visually appealing but also professionally printed, helping you make a lasting impression on your clients and prospects.
Understanding Business Card Bleeds and Their Importance
When designing business cards, understanding the concept of bleeds is crucial for a professional finish. Business cards are an essential marketing tool, and their design can significantly impact how a business is perceived.
What Are Print Bleeds and Why They Matter
Print bleeds are extensions of your design that go beyond the final cut size of your business card, typically 0.125 inches (3mm) on all sides. The purpose of a bleed is to ensure that your design or image entirely covers your card, leaving no unsightly white edges after trimming. This is particularly important for business cards with background colours or images that need to extend to the edges.
Key Terminology: Bleed, Trim, and Safe Areas
Understanding the difference between bleed areas, trim lines, and safe zones is crucial for creating professionally printed business cards. The trim line represents where the card will be physically cut, while the safe area is an internal margin where all important information should be placed to avoid being cut off.
| Term | Description |
|---|---|
| Bleed | The area of your design that extends beyond the trim line, typically 0.125 inches (3mm) on all sides. |
| Trim | The final size of your business card after the bleed has been cut off. |
| Safe Area | An internal margin within the trim line where important information should be placed. |
By understanding and implementing these concepts, you can ensure that your business cards have a professional finish and effectively represent your business.
How to Set Up Business Cards for Bleeds in AI

Setting up business cards for bleeds in Adobe Illustrator is a crucial step in creating professional print-ready cards. Bleeds ensure that your design extends to the edge of the card, providing a polished finish.
Creating a New Document with the Correct Dimensions
To start, create a new document in Adobe Illustrator with the correct dimensions for your business card. Typically, a standard business card size is 3.5 by 2 inches. When creating a new document, select “Custom” from the Profile drop-down menu and set the Number of Artboards to 1 for single-sided or 2 for double-sided business cards.
Define the Width, Height, Units, and Orientation of your document. For a horizontal business card, use 3.5 by 2 inches. Ensure that the measurement units are set to inches to match your card size requirements.
Setting Up Bleed Parameters in Newer Versions of Illustrator
In newer versions of Illustrator, you can specify the Bleed zone directly in the New Document dialog. To do this, expand the Bleed and Slug section and set all sides to 0.125 inches. This step is crucial for creating a document that accommodates bleed areas.
Additionally, expand the Advanced tab and set the Color Mode to CMYK and Raster Effects to High (300 PPI). This ensures that your document is set up for professional printing results.
Manually Defining Bleeds in Older Versions of Illustrator
For older versions of Illustrator that do not offer bleed settings in the New Document dialog, you will need to manually create a document at a larger size to accommodate the bleed area. Create a document that is 0.25 inches larger in both dimensions (3.75 × 2.25 inches) and use guides to mark the actual trim size.
By following these steps, you can ensure that your business card design is properly set up for printing with bleeds, regardless of the Illustrator version you are using.
Designing Within Safe Areas and Bleed Zones
To achieve professional results, business card designs must be carefully crafted within the safe areas and bleed zones. This involves understanding the different zones within your business card template and designing accordingly.
Creating and Using Guide Lines for Safe Areas
To define the safe area, create two rectangles that are slightly smaller than your trim size and convert them to guides. For a standard business card, this means creating rectangles that are 3.25 inches by 1.75 inches and placing them in the center of your artboards. By converting these rectangles to guides, you create a visual marker for the safe zone, ensuring that important elements like text and logos are not cut off during trimming.

Extending Background Elements to the Bleed Line
Background elements such as colours, patterns, or images that need to extend to the edge of the printed card must be stretched beyond the artboard edge to the bleed line. It’s essential to ensure these elements go at least 0.125 inches beyond the trim edge on all sides that will be cut. This prevents white edges from appearing around the card after trimming.
Keeping Important Information Within the Safe Zone
All critical information, including contact details, logos, and text, should remain within the safe zone, at least 0.125 inches away from the trim line. Using layers in Illustrator can help organise your design elements, keeping background elements that extend to the bleed separate from text and logos that stay within the safe area.
| Design Element | Placement Zone | Minimum Distance from Trim |
|---|---|---|
| Background Elements | Bleed Zone | 0.125 inches |
| Text and Logos | Safe Zone | 0.125 inches |
Preparing Your Business Card Design for Print
Preparing your business card for print involves a series of crucial steps to ensure that the final product is of high quality and accurately represents your design.
Choosing the Right Colour Mode and Resolution
When designing business cards, it’s essential to use the correct colour mode and resolution. CMYK (Cyan, Magenta, Yellow, Black) is the standard colour mode for print production, as opposed to RGB, which is used for digital displays. Ensuring your design is in CMYK helps prevent colour discrepancies between your screen and the printed card.
Additionally, setting the resolution to 300 PPI (Pixels Per Inch) ensures that images and elements appear crisp and professional. This is particularly important for business cards, where a professional finish is crucial.
Converting Fonts to Outlines
Another critical step is converting fonts to outlines. This process transforms text into vector shapes, preventing font substitution issues when your file is processed by the printing service. To convert fonts to outlines in Adobe Illustrator, select all text elements and choose Type > Create Outlines. This ensures that your text appears exactly as designed, regardless of font availability.
Adding Trim Marks and Bleed Settings
Trim marks are essential for indicating where the printer should cut your business cards. To add trim marks and set bleed settings, you’ll need to adjust your design file accordingly. When exporting your design as a PDF, make sure to include trim marks and use the document’s bleed settings. This can be done in Adobe Illustrator by going to File > Save As, choosing Adobe PDF, and then adjusting the settings in the Marks and Bleeds tab.
- Ensure your design is in CMYK colour mode to prevent colour discrepancies.
- Set the resolution to 300 PPI for crisp and professional images.
- Convert fonts to outlines to prevent font substitution issues.
- Add trim marks and set bleed settings to ensure accurate cutting.
- Export your design as a PDF with the correct settings, including trim marks and bleed.
By following these steps, you can ensure that your business card design is properly prepared for print, resulting in a high-quality final product that meets your expectations.
Conclusion
By following this guide, you’ve gained the skills to produce high-quality business cards that effectively represent your brand. Setting up business cards with proper bleeds in Adobe Illustrator is a fundamental skill for designers and business owners. This process ensures that your final card design is professionally printed without white edges or cut-off elements.
Understanding the relationship between bleed areas, trim lines, and safe zones enhances your design capabilities beyond business cards to other print projects like brochures and flyers. Remember to verify your printer’s specific requirements for bleed sizes, file formats, and colour specifications before finalising your design. With these skills, you’re well-equipped to create professional print materials that make a lasting impression.
FAQ
What is the standard size for a business card in Adobe Illustrator?
The standard size for a business card is typically 85mm x 55mm (3.5 inches x 2 inches). When creating a new document in Adobe Illustrator, ensure that the dimensions are correctly inputted, taking into account the bleed area.
How do I define bleed parameters in Adobe Illustrator?
To define bleed parameters, go to the ‘New Document’ menu, select ‘Print’ as the profile, and then input the desired bleed size, typically 3-5mm. In newer versions of Illustrator, you can find the ‘Bleed’ option under the ‘Advanced’ settings.
What is the recommended resolution for business card designs?
For optimal print quality, it is recommended to design at 300 ppi (pixels per inch). This ensures that the final product is crisp and clear.
Why is it essential to keep important information within the safe zone?
The safe zone is the area within the trim line, ensuring that crucial information is not cut off during the trimming process. Keeping important details within this zone guarantees that they remain visible.
Can I use RGB colour mode for business card designs?
No, it is recommended to use CMYK colour mode for business card designs, as it is more suitable for print production. RGB is ideal for digital displays, but CMYK ensures accurate colour representation on paper.
What are trim marks, and why are they necessary?
Trim marks are guidelines that indicate where the card should be trimmed. They are essential for the printer to accurately cut the business cards to the desired size.
How do I convert fonts to outlines in Adobe Illustrator?
To convert fonts to outlines, select the text, then go to ‘Type’ > ‘Create Outlines’. This ensures that the fonts are embedded and will not be substituted during the printing process.
What is the purpose of extending background elements to the bleed line?
Extending background elements to the bleed line ensures that there are no white edges around the card after trimming, resulting in a professional finish.

 By
By